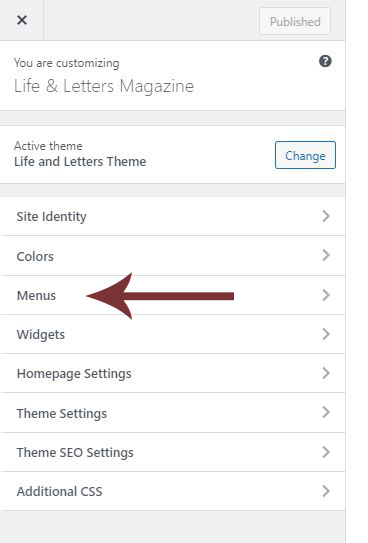
- Go to “Appearance” -> “Customize,” this will take you to the Customize page.

2. In the customize page, go to “Menus”
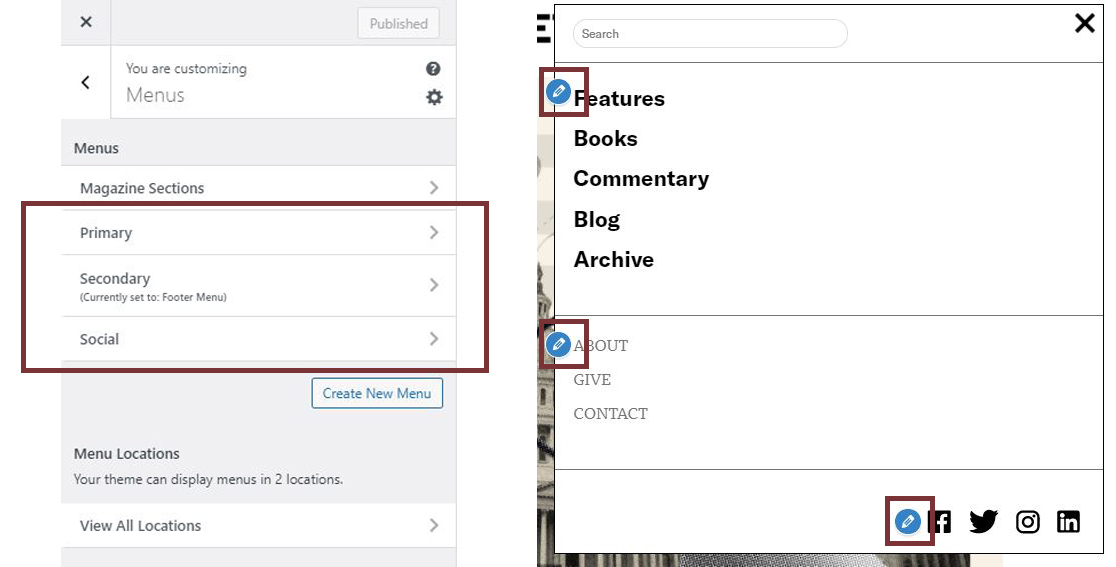
3. The pencil icons correspond to Primary, Secondary, and Social menus, click into a menu to rename, reorder, delete, or add menu items.
4. To rename a menu item, type in the new name under “Navigation Label.”
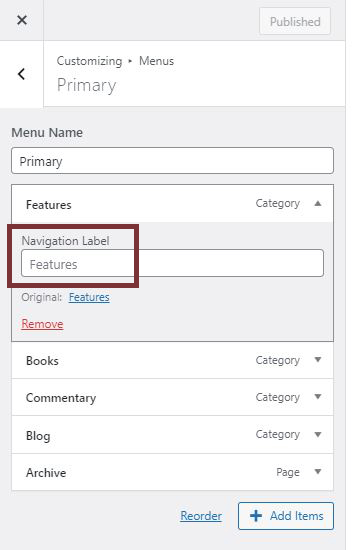
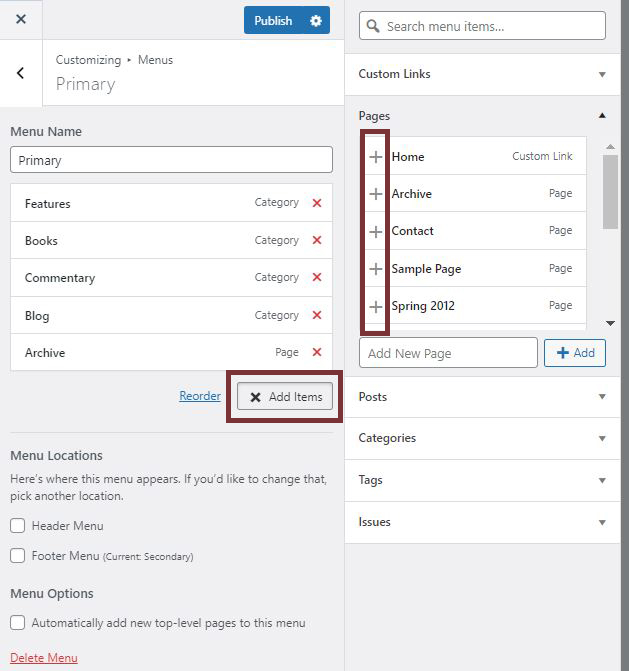
5. To add a menu item, click on “Add Items” and select/search for the link, page, post, or category you would like to add to the menu.
3. To reorder the menu, click and drag the menu item to move it above or below other menu items.
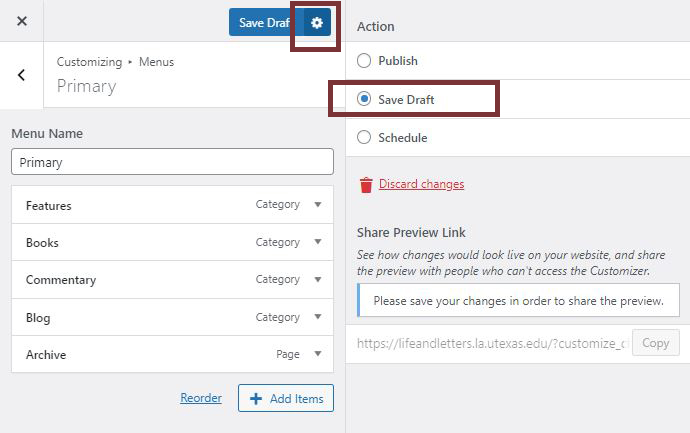
4. If changes you made do not show up on the right immediately, you can save it as a draft to refresh the page. To save a draft, click on the gear icon next to the “Publish” button and select “Save Draft.”
5. To revert your changes, click on discard changes.

6. Click on “Publish” to save all your changes.